1.一键安装 Homebrew
/bin/bash -c "$(curl -fsSL https://raw.githubusercontent.com/Homebrew/install/HEAD/install.sh)"
2.查看 brew 版本
brew -v

//显示
Homebrew 3.6.20
Homebrew/homebrew-core (git revision 512bc2f6829; last commit 2023-01-20)
Homebrew/homebrew-cask (git revision 0f67640754; last commit 2023-01-20)
3.安装 python
brew install cmake protobuf rust python@3.10 git wget4.clone 代码 stable-diffusion-webui
git clone https://github.com/AUTOMATIC1111/stable-diffusion-webui5.设置国内镜像源代理:
pip config set global.index-url https://mirrors.aliyun.com/pypi/simple/阿里云:https://mirrors.aliyun.com/pypi/simple/
清华:https://pypi.tuna.tsinghua.edu.cn/simple
豆瓣:http://pypi.douban.com/simple/
中国科技大学: https://pypi.mirrors.ustc.edu.cn/simple/
华中理工大学:https://pypi.hustunique.com/
山东理工大学:https://pypi.sdutlinux.org/
6.git 设置代理模式
注意:上面的 127.0.0.1:8118 这个地址是我自己的代理地址,每个人都需要查看自己的端口是不是也是 8118,同时也要区分 socks 端口和 http 端口,因为我这里主要是用的 https 方式来 clone GitHub 项目。
设置代理
全局代理
git config --global http.proxy 127.0.0.1:8118局部代理 在 github clone 的仓库内执行:
git config --local http.proxy 127.0.0.1:8118只对 github 进行代理,对国内的仓库不影响:
git config --global http.https://github.com.proxy 127.0.0.1:8118取消代理
取消全局代理:
git config --global --unset http.proxy
git config --global --unset https.proxy
取消局部代理:
git config --local --unset http.proxy
git config --local --unset https.proxy
取消对 github 进行的代理:
git config --global --unset http.https://github.com.proxy
git config --global --unset https.https://github.com.proxy
配置 pip 源
添加国内 pip 源(最新的 pip 要求源必须是 https 的),~/.pip/pip.conf 文件配置大概如下
vim ~/.config/pip/pip.conf添加信任源 trusted-host
[global]
index-url = http://mirrors.aliyun.com/pypi/simple/
trusted-host = mirrors.aliyun.com
7.下载 SD 模型
代码已经 Clone 下来后,实际运行还需要下载模型,一般模型文件后缀为.ckpt 或者.safetensors,文件大小一般都上 G 的大小。我们可以参照 Wiki 说明上的链接在Hugging Faceopen in new window上进行下载,这里一般下载 1.4 或者 1.5 版本的就行。
- Stable DIffusion 1.4open in new window (sd-v1-4.ckptopen in new window)
- Stable Diffusion 1.5open in new window (v1-5-pruned-emaonly.ckptopen in new window)
- Stable Diffusion 1.5 Inpaintingopen in new window (sd-v1-5-inpainting.ckptopen in new window)
- Stable Diffusion 2.0open in new window (768-v-ema.ckptopen in new window)
- Stable Diffusion 2.1open in new window (v2-1_768-ema-pruned.ckptopen in new window)
不过本人跟倾向于在Civitaiopen in new window上下面下载各种模型。
由于是 SafeTensor 类型的模型,所以下载的文件后缀为.safetensors,下载完成后,stable-diffusion-webui 为上面 Clone 下来的代码,将该模型文件复制到下面的 stable-diffusion-webui/models/Stable-diffusion/ 目录中。
stable-diffusion-webui/models/Stable-diffusion
- 对于checkpoint 模型,请移动到 stable-diffusion-webui/models/Stable-diffusion ⽬录下
- 对于LoRA 模型,请移动到 stable-diffusion-webui/models/Lora 目录下
- 其他模型按对应的类型移到对应的目录
8.运行启动
有了模型后就能通过命令启动程序了,使用终端进入到 stable-diffusion-webui 目录,然后运行下面的命令启动。此时程序会自动安装一些项目依赖,首次启动会耗时较长,需要耐心等待依赖安装完成
./webui.sh

// 这时候访问提示的http://127.0.0.1:7860/即可访问项目了。
报错处理: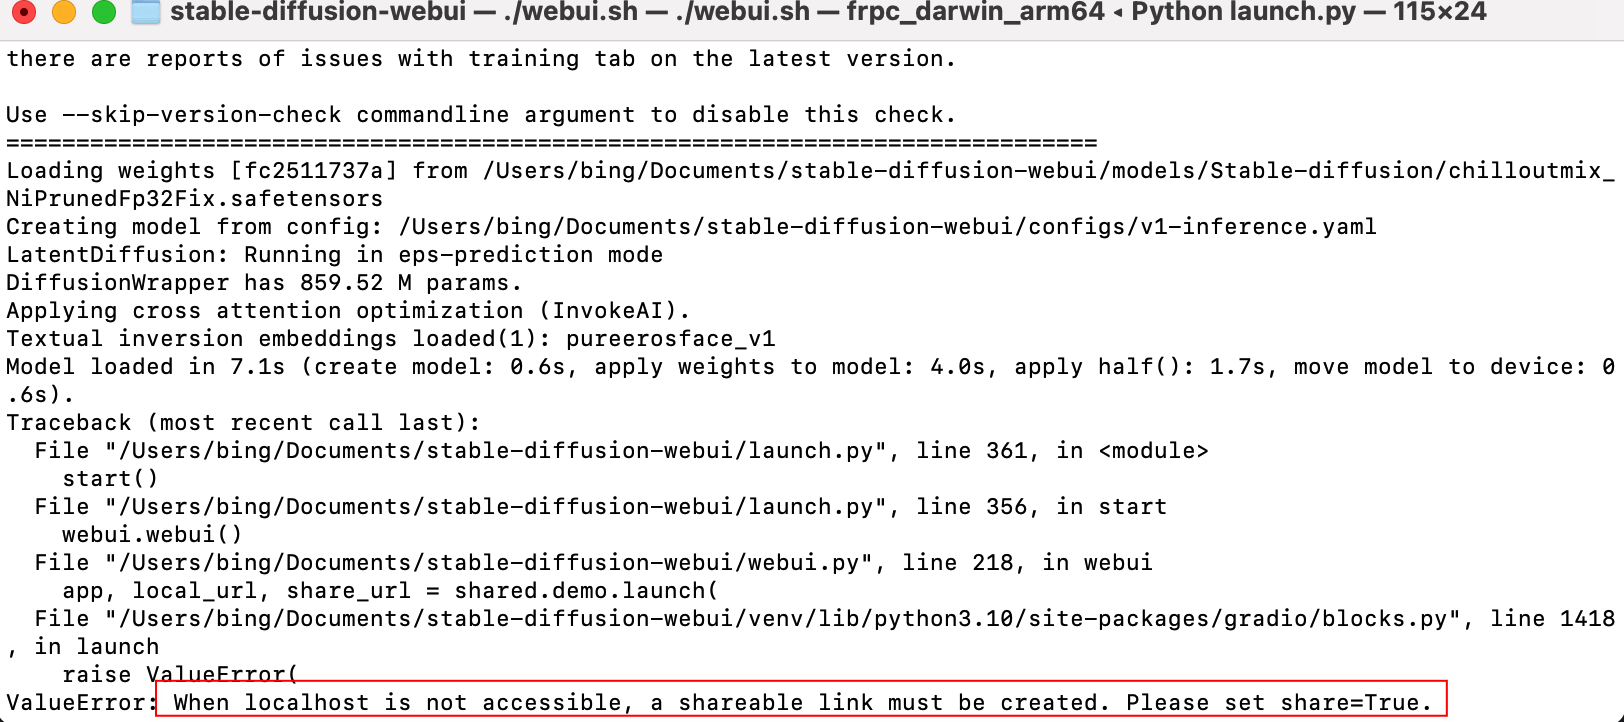
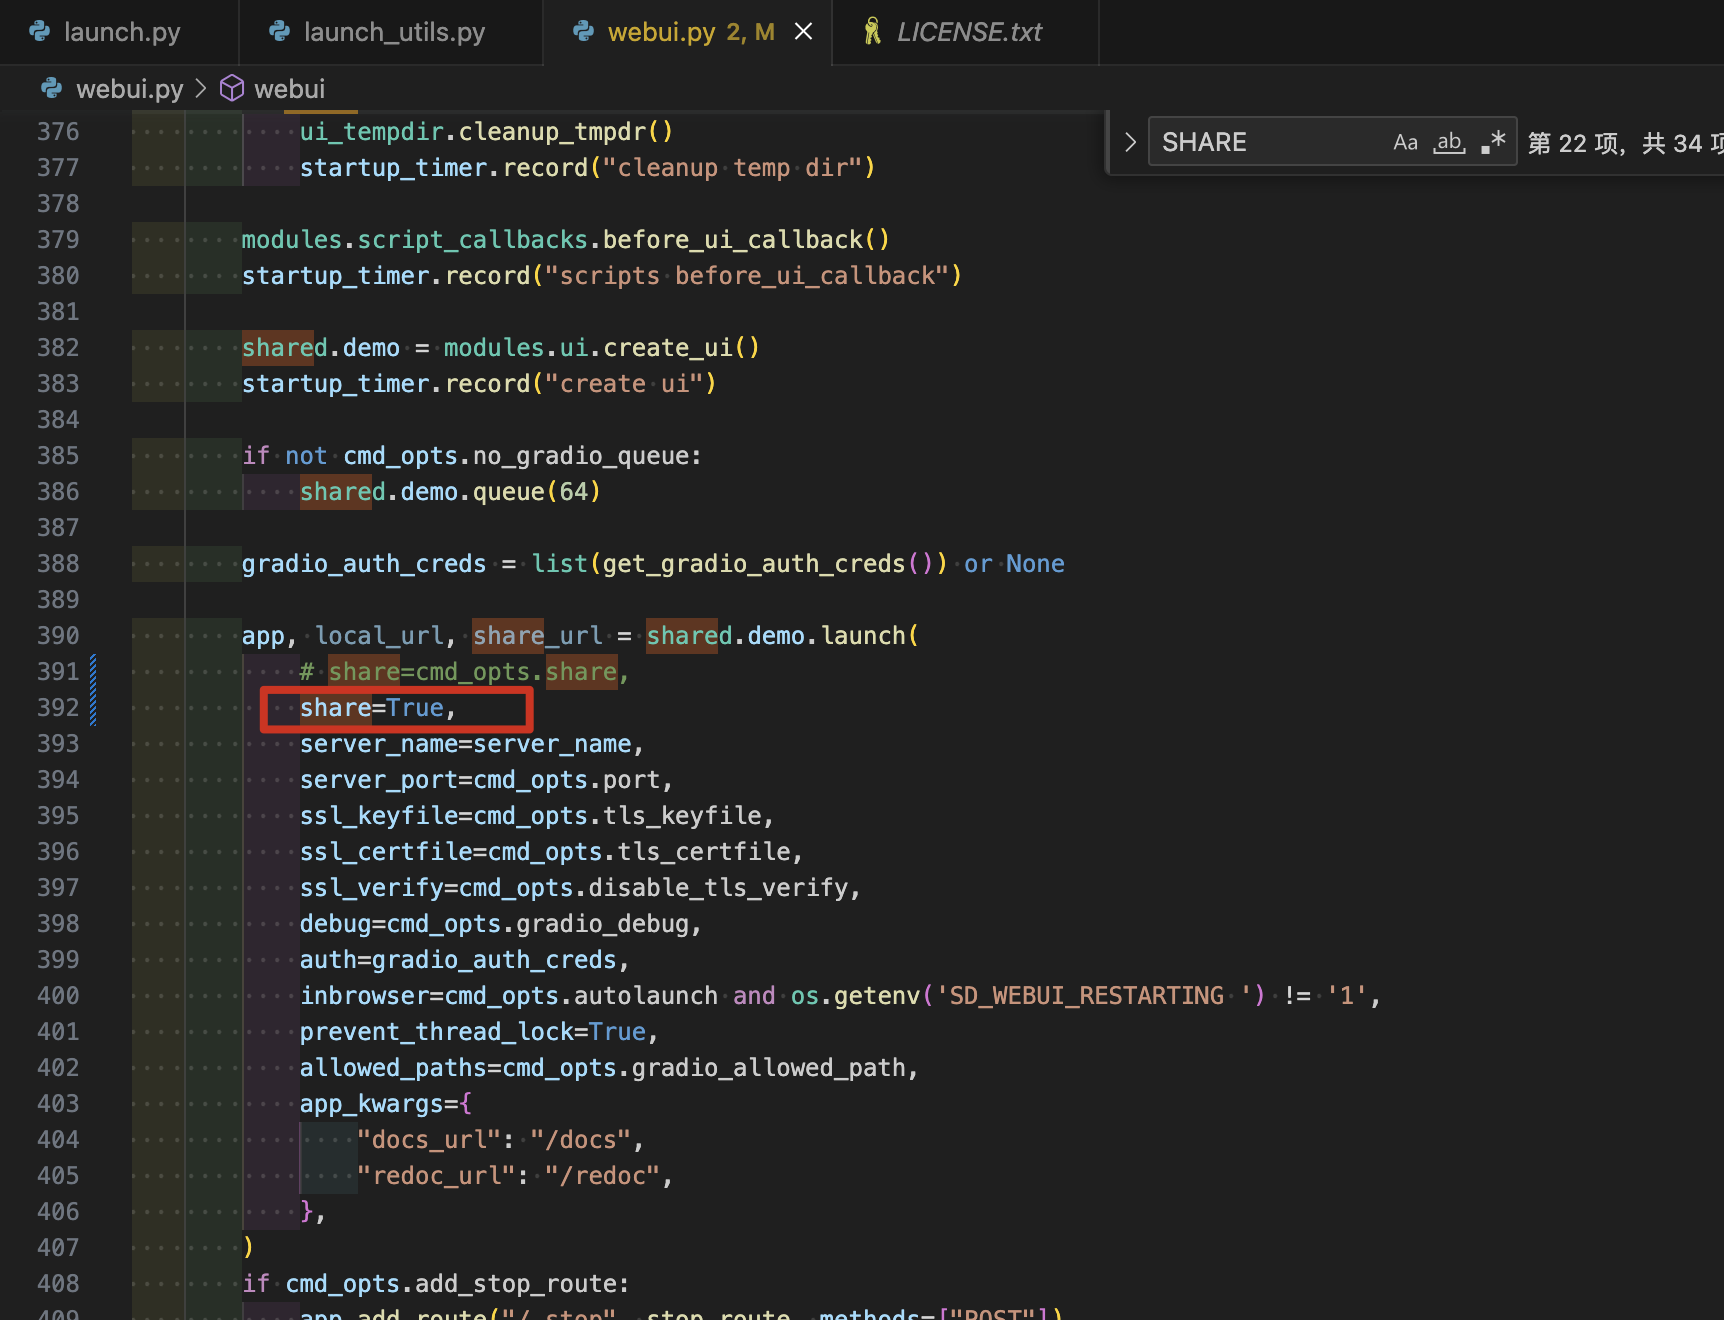
在项目代码里面搜索了下 share 关键词,发现只需要将项目跟目录的 webui.py 文件中 share 参数设置为 True 即可。修改完成后重新执行./webui.sh 命令运行项目,最后顺利启动成功。
参考文章:https://liubing.me/article/ai/mac-deploy-stable-diffusion-web-ui.html